For parents & families
OMA Parent Guide
A simple walkthrough for using OMA to stay connected with your child’s daycare or caregiver. You do not need to be technical. If you can open email and tap buttons on your phone, you can use this. Looking for the owner walkthrough? Read the owner guide.
What is OMA?
OMA is the app your daycare or caregiver uses to keep you in the loop. As a parent, you can:
- See daily updates about your child’s day (meals, naps, activities, and more)
- Message your care provider
- Read incident reports and acknowledge them when asked
- Watch live classroom cameras when your provider offers them
- View tuition info and payment options
- Keep your family’s contact information up to date
Your care provider invites you. After you join, you’ll see a parent view focused on your children — not the tools staff use to run the business.
Part 1 — Getting started
You need an invitation from your daycare or caregiver before you can use OMA as a parent. Ask them to send one if you haven’t received it yet.
Install the app
Install OMA on the phone you’ll use day to day before opening your invitation link:
- Android: download OMA from Google Play
- iPhone: join the OMA beta on TestFlight. You may be asked to install Apple’s free TestFlight app first.
Accept your invitation
- Open the invitation email from OMA on your phone.
- Tap the link to open the app (or the bridge page that opens OMA).
- Create an account or sign in with the same email address the invitation was sent to.
- Finish any family details your provider asks you to confirm.
Tip: If the app says the invitation isn’t for your account, you’re probably signed in with a different email. Sign out and use the invited email.
If you never got the email:
- Check spam / junk
- Ask your provider to confirm the email spelling and resend
- Invitations expire after 7 days — ask for a fresh one if needed
Part 2 — Your home screen
After you sign in, Home shows the children linked to your account.
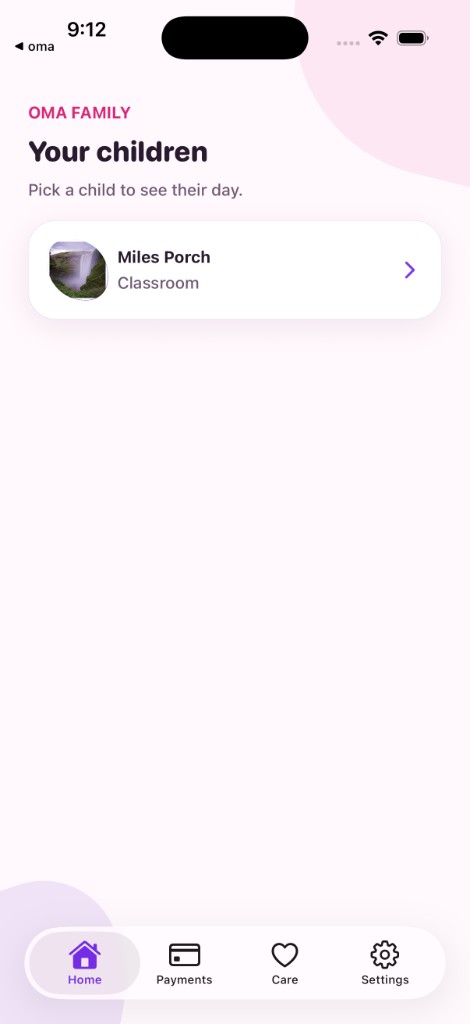
- Tap a child to open their page
- You’ll see their classroom or care provider name under their name
- Use the bottom tabs for Payments, Care, and Settings
If Home says no children are linked yet, your provider may still be finishing setup. Only your provider can add children — reach out to them if the list stays empty.
Part 3 — Activities
Open a child, then stay on the Activities tab to see updates from their day — notes, photos, and other moments staff share.
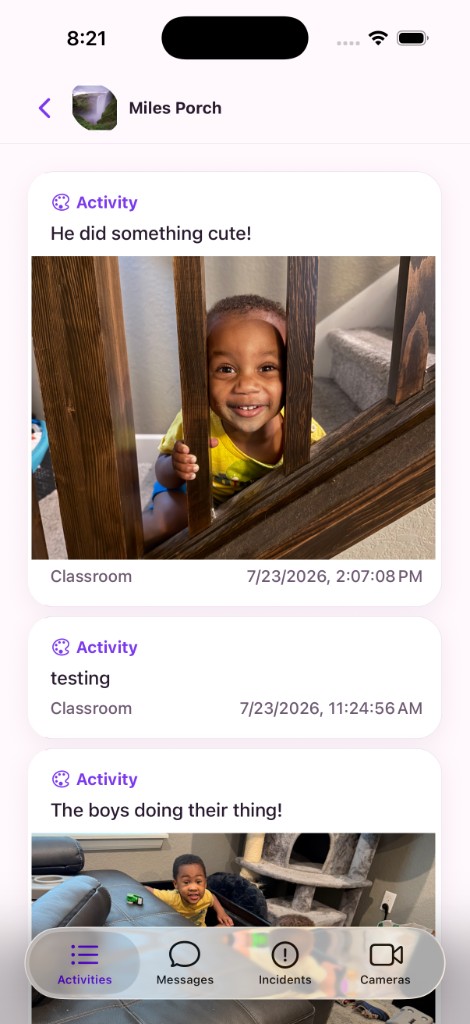
Tip: Pull down on the list to refresh if you’re waiting on a new update.
Part 4 — Messages
On a child’s page, open the Messages tab to read conversations related to that child.
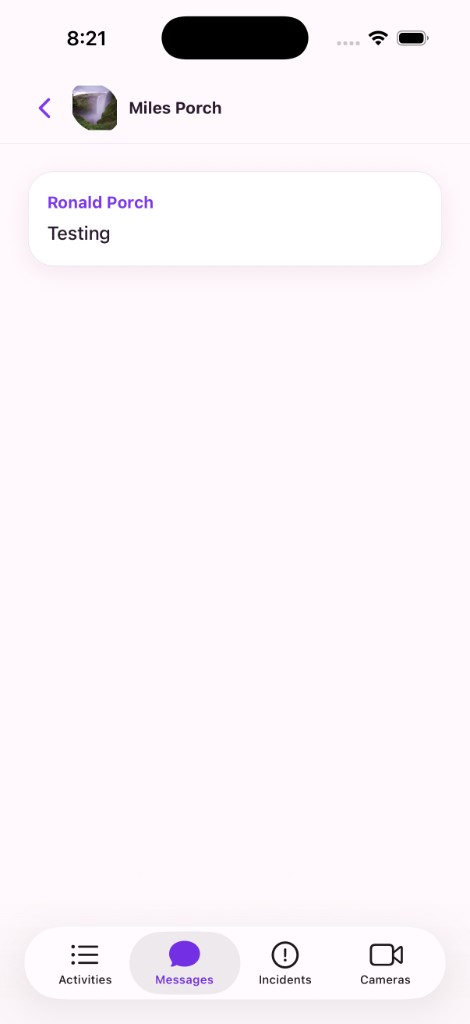
- Tap a conversation to read it and reply.
- Use Messages for quick questions about pickup, supplies, or the day.
Part 5 — Incident reports
The Incidents tab lists incident reports staff have shared for that child.
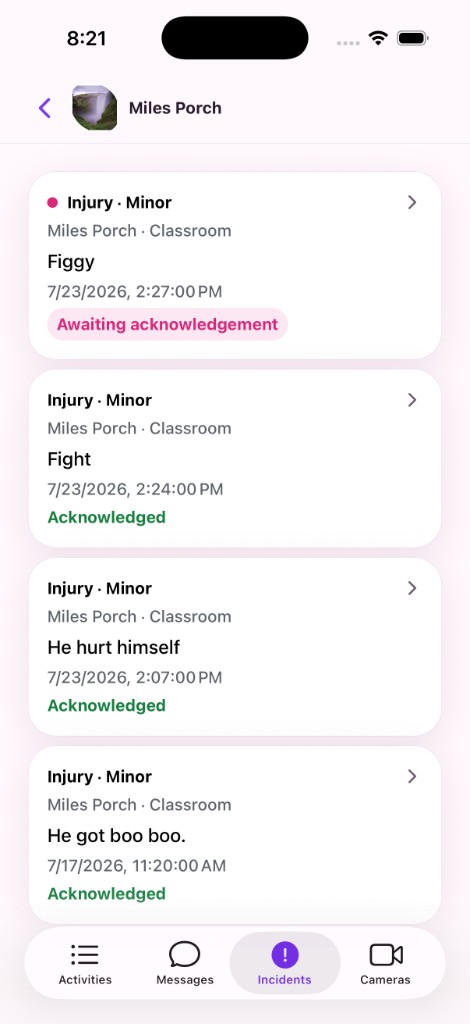
- Tap a report to read what happened, when, and any follow-up.
- If a report says Awaiting acknowledgement, open it and follow the prompts.
- Acknowledged reports stay in the list so you can look back later.
Tip: If something in a report doesn’t look right, message your provider through the app or contact them directly — don’t wait until pickup if you’re concerned.
Part 6 — Cameras
Open the Cameras tab on a child’s page to watch live classroom cameras when your care provider offers them.
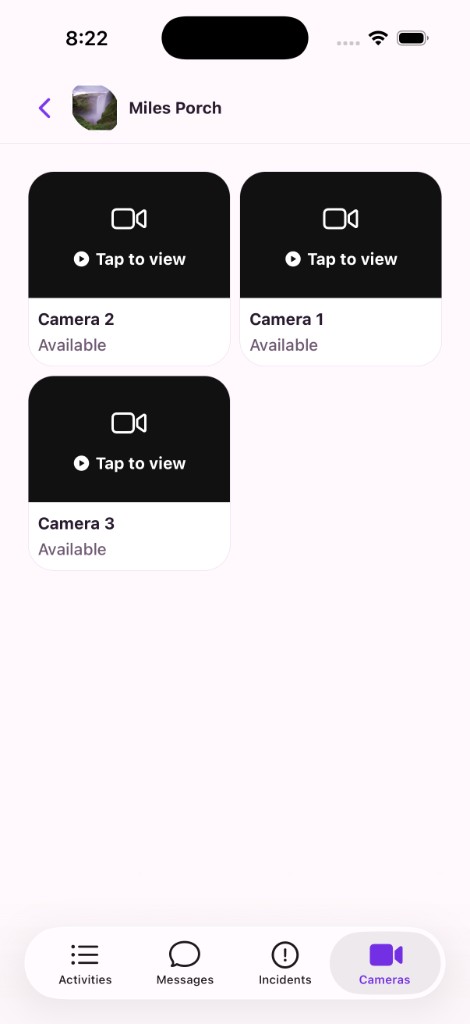
- Tap a camera to view it full screen
- If cameras aren’t available, the app will say so — not every provider has this turned on
Live cameras are meant for a quick look during the day. Please don’t record or share streams without your provider’s permission.
Part 7 — Payments
Use the bottom Payments tab for tuition info and your provider’s preferred payment options.
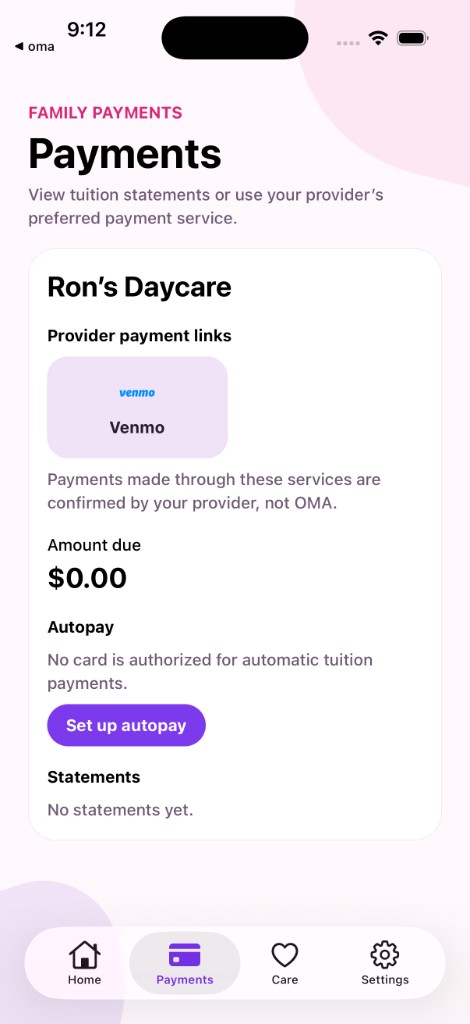
- Open provider payment links (for example Venmo) when they’re listed
- Check amount due and any statements your provider has sent
- Set up autopay when your provider supports card payments in OMA
Tip: Payments made through Venmo or similar services are confirmed by your provider, not by OMA.
Part 8 — Care
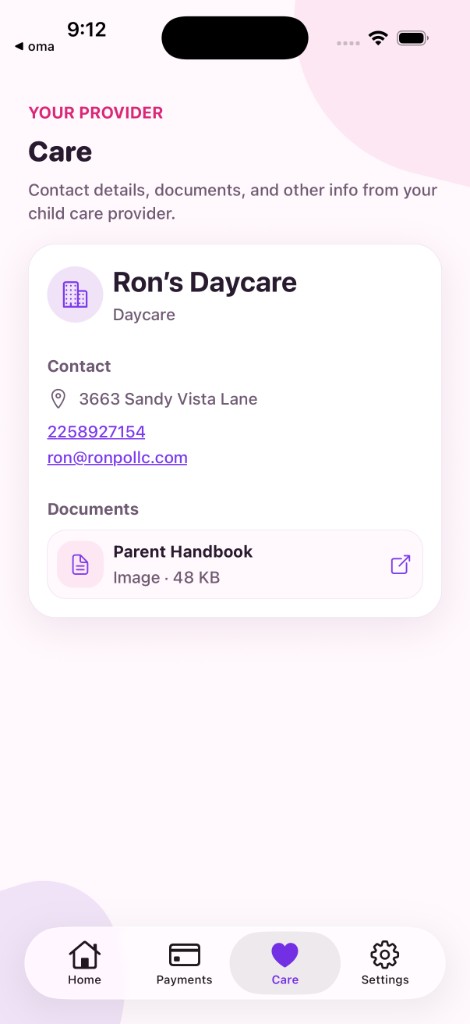
The Care tab is your provider’s contact card — address, phone, email, and documents like a parent handbook.
Part 9 — Family & settings
Open Settings from the bottom tabs to manage your account, notifications, and family profile.
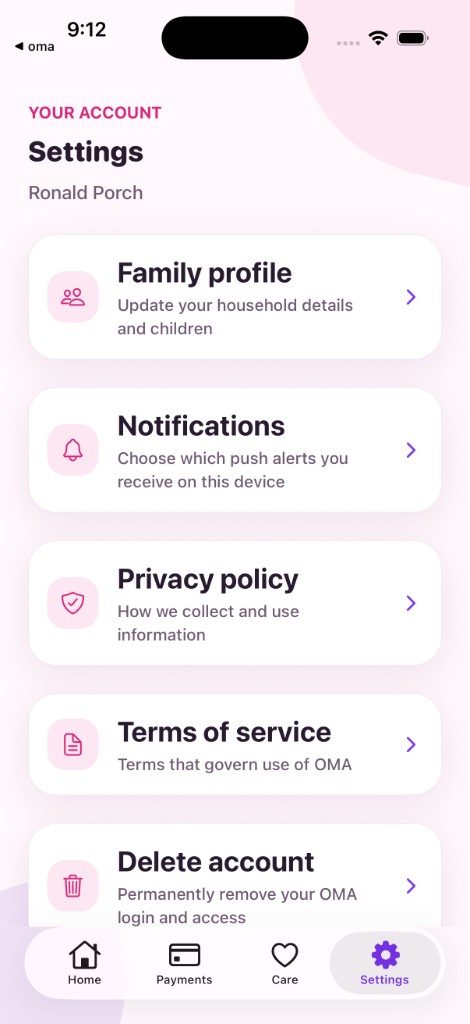
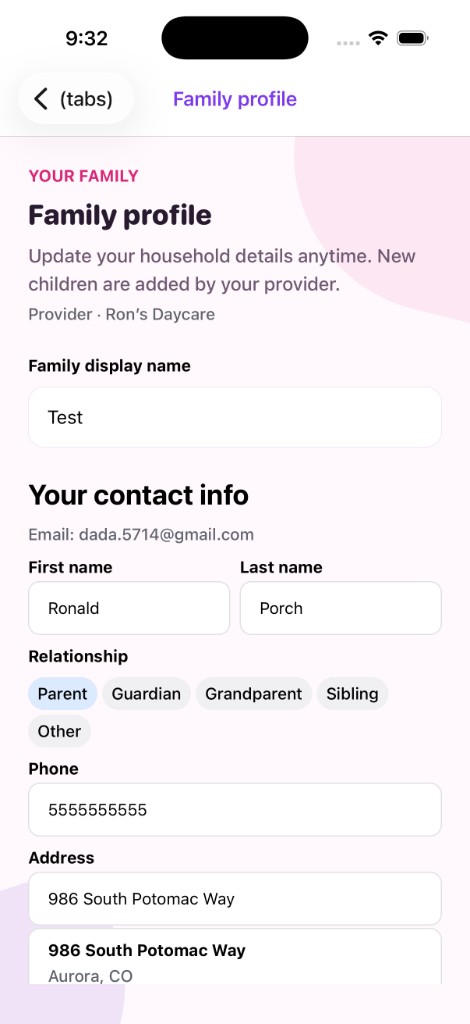
- Update your own contact details (phone, address, and related info)
- Review and update your child’s information when needed
- Ask your provider to add new children — parents can’t add them in the app
- Choose which push notifications you receive on this device
Tip: If you notice placeholder or sample address or contact info when you first join, edit it so everything matches your family.
Part 10 — Where do I find…?
| I want to… | Go here |
|---|---|
| See my children | Home |
| See today’s updates | Child → Activities |
| Message the daycare | Child → Messages |
| Read an incident report | Child → Incidents |
| Watch live cameras | Child → Cameras |
| Pay tuition / see statements | Payments |
| Find provider phone or handbook | Care |
| Update family / contact info | Settings → Family profile |
| Change notification preferences | Settings → Notifications |
Part 11 — Tips that save headaches
- Use the email you actually check. Invites and login are tied to that address.
- Allow notifications so you don’t miss messages or important reports during the day.
- Start from Home and tap the child — Activities, Messages, Incidents, and Cameras all live on the child’s page.
- Acknowledge incident reports promptly when your provider asks you to.
- Keep contact info current so staff can reach the right person at pickup or in an emergency.
Part 12 — Quick “first week” checklist
- Install OMA on your phone
- Open your invitation email and accept it
- Create your account (or sign in) with the invited email
- Confirm your children appear on Home
- Open a child and check Activities
- Send or reply to one message
- Review any incident reports waiting for you
- Try Cameras if your provider has them
- Open Payments and Care so you know where to find them
- Update placeholder contact or address details in Settings
- Turn on notifications
Need help?
If something in the app doesn’t match this guide, or you’re stuck on a step, reach out with:
- Your name and the email on your account
- Your child’s daycare or caregiver name
- What you were trying to do, and what you saw instead
Email ron@ronpollc.com and we’ll help you get unstuck.